

Screen Groups
As your digital signage network grows, managing individual screens one by one can become tedious. Yugna allows you to organize your displays into Screen Groups.
Groups are typically used to organize screens by physical location (e.g., “New York Office”, “Lobby Displays”, or “Store Window”).
How Groups Work
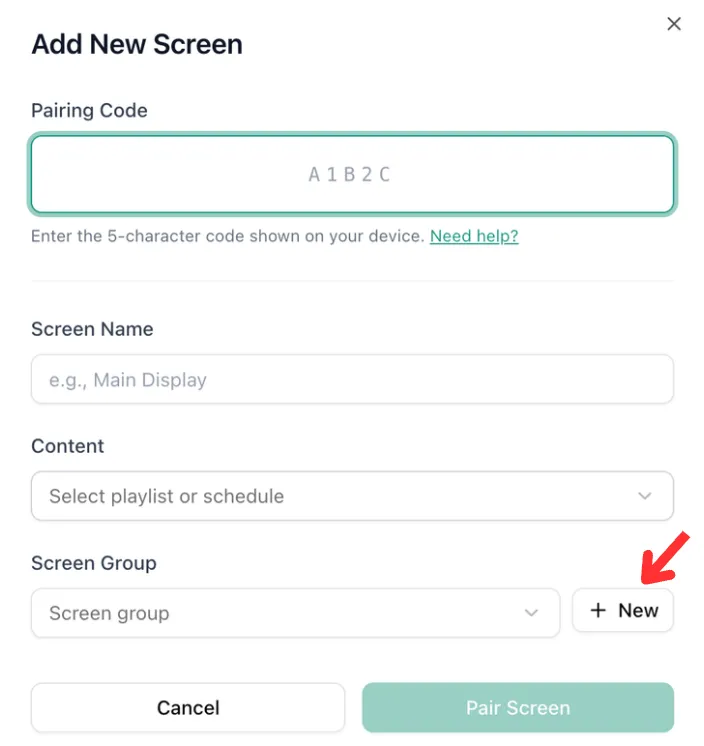
Section titled “How Groups Work”In Yugna, groups are created organically as you add new hardware to your network. There is no standalone “Create Group” button. Instead, grouping happens during the screen pairing process.
-
Creating a New Group: When you pair a brand new screen to your account, you will be asked which group it belongs to. You can either select an existing group from the dropdown, or type a new name to create a brand new group on the fly.
-
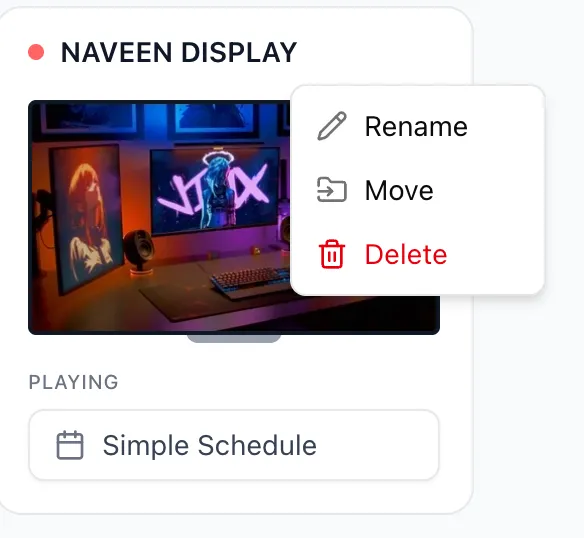
Moving Screens Between Groups: If you physically move a TV or just want to reorganize your dashboard, you can move an existing screen to a different group:
- Go to the Screens tab.
- Hover your mouse over the screen’s card.
- Click the ⋮ (three vertical dots) icon that appears to open the context menu.
- Select Move.
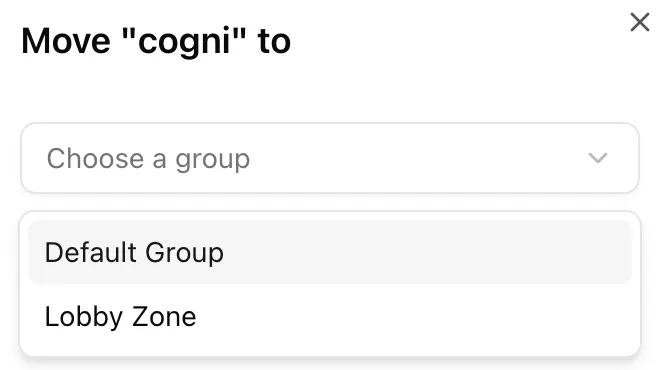
- In the dialog that appears, select your target group from the dropdown.
-
Group Operations: The true power of groups comes from bulk operations. When you configure settings or assign content to a screen, you have the option to push those exact same settings to all screens in that group simultaneously with a single click.